Posts

Prefabbing the WashHouse – Walls
Image
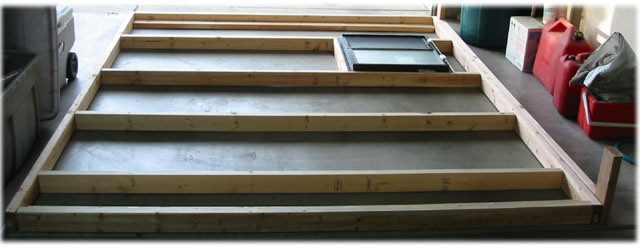
  Prefabbing the WashHouse – Walls by admin on Jul.30, 2004, under WashHouse The Walls Back at the house in Mesa, we cut and dry-fit the walls and the roof for the wash house. Here is the dry fit of the east wall, with the sliding window. We made sure that there were studs centered at 4′ intervals from one of the outside edges of the wall. That way the siding seams will fall on a stud.   East Wall Prefab Corners The east and west walls included an extra corner stud to allow connection of the adjoining wall and interior wall panels. The dry fit had it just sitting on the ground, but the corner stud actually is placed on the inside edge of the wall, rather than the outside. Note on the top that the second top plate (at the top of the picture) is cut short enough to allow the second top plate from the adjoining wall to overlap. This ties together the walls and strengthens the structure.   Wall Corners Window Frame We found a window that was close ...

Building the WashHouse – Floor

Image
  Building the WashHouse – Floor by admin on Jul.11, 2004, under WashHouse Floor Joists... Here, we have nailed down all of our floor joists 16″ on center with 10d nails to the beams. Notice the middle pier repairs in place.   Floor Joists Rim Joists After the floor joists were installed, we added Rim Joists to the front and back with 16d nails into the floor joists. Notice the repairs in place for the middle piers here…   Fixed Piers Error #2 Well, we put he joists 16″ on center, but found that 1 4×8 sheet of plywood would not be supported on one end, if it was flush with the side of the rim joists. So we added some support pieces at the joint. I would have preferred to cut a new board and spanned the beams, but we had no extra lumber, and needed to get the floor down before we left. That may bite us later, too. If so, I can pretty easily add another full joist later…   Kludge Joists Spacing Nail the Subfloor Once the rim joists were attach...

Building the WashHouse – Footings & Floor

Image
  Building the WashHouse – Footings & Floor by admin on Jul.11, 2004, under WashHouse Water Needs Water is needed to mix the concrete for the footings and piers. We loaded two 32 gallon plastic trash containers into the back of the truck and headed for Seligman. There, we found the water standpipe, where for 25 cents, we were able to purchase 50 gallons of water. Here, Randy is extracting the water from the containers into a garden sprayer we modified to work with a kitchen spray nozzle. That allows us to control the water flow very well, and also comes in handy for showers right now!   Siphoning Water Mix Concrete We dug out the footings to 18 inches, or until we hit solid rock, whichever came first. we’ve since been told that the frost line is 24 to 30 inches up here, but we have so much aggregates in the soil, I don’t think it will affect our structure much. Here, we mix concrete in manageable batches to pour the footings and piers.   Mix...

Pre-Fabbing a WashHouse

Image
  Pre-Fabbing a WashHouse by admin on Jul.07, 2004, under WashHouse Wash House While building the little house, we need a place to clean up after a hard days work. This project is to build a 6′ x 9′ wash house, with a sink, shower, and lavatory. We hope to keep it as an accessory building when the house is finished, possible converting it to a place for the washer/dryer and general cleanup Preparation We are trying to treat this like a kit, making all of the cuts at our house in Mesa, and transporting everything up to the Juniper Valley Ranch for final assembly. Hopefully, this will allow us to construct the wash house with a minimum need for electricity at the ranch. Here, Randy precuts one of the main floor beams to length.   Precutting the lumber for the WashHouse PreDrilling After careful measurement, Randy pre-drills the holes for the brackets used to mount the beams to the concrete piers.   Predrilling Prefitting After all of the pieces ar...

Ranch Security – First Steps

Image
  Ranch Security – First Steps by admin on Jun.30, 2004, under Security When we were up for Memorial Day, 2004, we were getting A LOT of traffic using our private drive. Some was intentional, most was not. We hate to do it, but due to the erosion on our drive, we decided to place No Trespassing signs at the lower end . This won’t keep out those who don’t care, but will inform those that just don’t know this is private property .   Private Property Sign After just one summer of being wired to the fencepost near the end of the drive, the winds blew it around so much that it tore off the holes and fell to the ground. Our good neighbor up the hill patched up our sign as best as possible.   Old Sign When we arrived, we replaced the worn out sign with a new one. As we dug the new post hole, we discovered how much the recent rains had been helping. Two feet down, the ground was still moist. Very nice for this part of the country.   New Sign The spa...

Laying the Septic Lines

Image
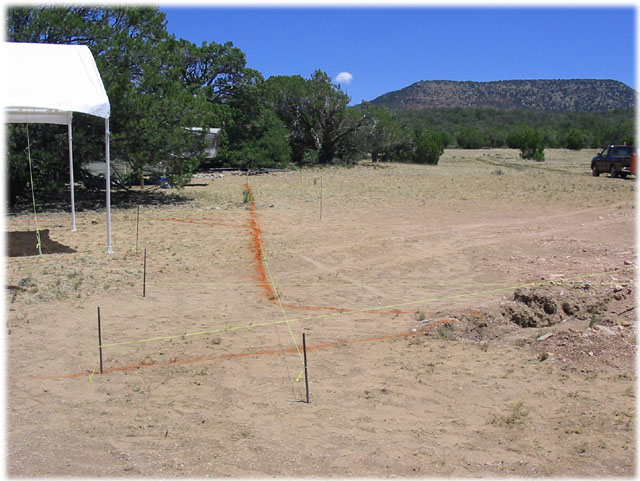
  Laying the Septic Lines by admin on Jun.30, 2004, under Septic System Septic System Installation June 27 – 28, 2004 ——————————————————————————– The process comes to an end with the installation of the lines from the house sites, and the washroom site. The layout of the Septic Tank Lines was absolutely perfect to get this sewer line installation completed as fast as possible. All the strings are to work out the angles such that we could make all of the turns with 45 degree and 22.5 degree angles. These are the two most common angles available in building supply outlets.   Layout of the Septic Lines Digging We were fortunate to have a site with a natural 2% grade built in. For the most part, we simply dug all of the trenches at a constant depth of 18 inches, and let the natural grade supply the slope for us. The slope is very important for the septic installation process since we don’t want our sewage getting clogged once everything is built over it ....

June at the Ranch

Image
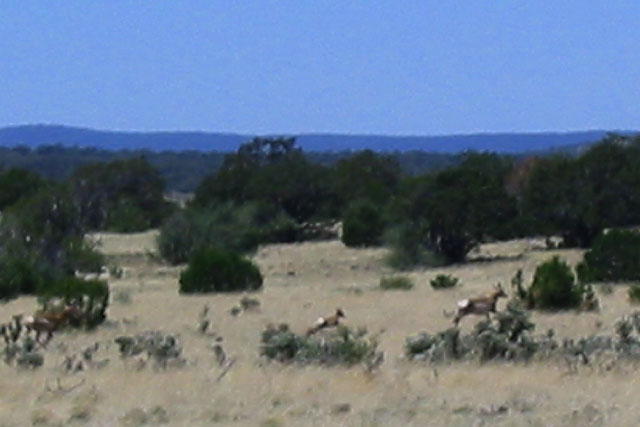
  June at the Ranch by admin on Jun.10, 2004, under Seasons June Warm days & Cool Nights June is a great month to visit the ranch. Trees and bushes now have leaves, the stickers have not yet returned to the meadow, and the temperatures are mild. Wear long sleeves and pants, though… The gnats will drive you crazy this month. They go away after a few weeks, thankfully… Antelope June 5th, 2004. Afternoon. We were driving around Sierra Verde Ranch, doing some exploring when we came across these antelope about a mile from our place. It was in the 900 parcel number range. Please excuse the pixelation, as I didn’t have quite enough optical zoom on the camera…   Antelope Deer June 5th, 2004. Dusk. While taking an early evening walk, we ran across these deer crossing Gunner’s Mate Road, just East of our Ranch.   Deer at Dusk on Gunners Mate Road Processed Deer June 5th, 2004. Dusk. We applied a little digital magic to this photo, to better brin...