Posts

Showing posts from September, 2010

Bathroom Shower Install

Image
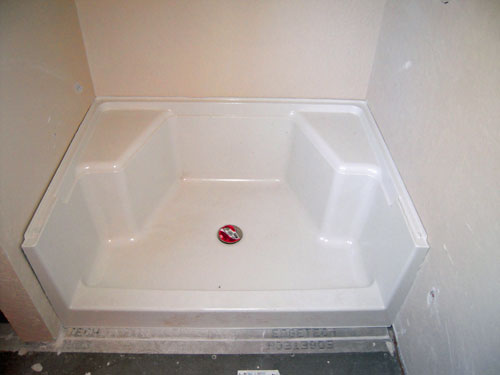
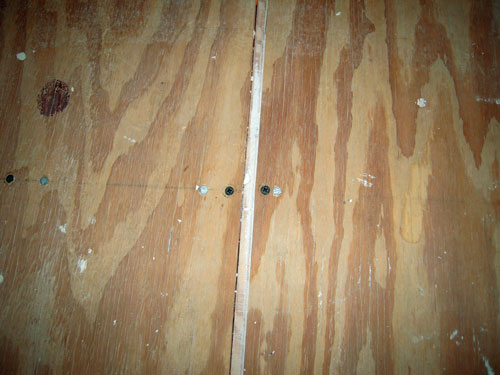
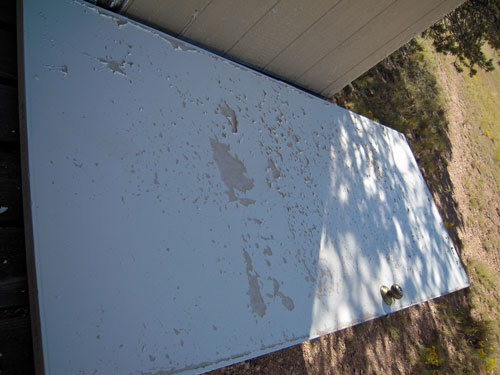
  Bathroom Shower Install by rdpecken on Sep.28, 2010, under Plumbing 09/18/2010 After painting all of the bathroom walls, the base unit   It was a little tight. (looking at this process later, I realize that the shower unit is meant to be installed against bare studs, then drywall installed later).  I had to pull the inlet for the toilet into the wall (easy, since it’s connected to the adjustable mounting bracket, and the other side of the wall is not drywalled, yet.  After placing some tile adhesive down, I placed the base into the cubbyhole.  It was not easy to do by myself. Yes, I scuffed up the walls some getting the base in.  It was a tight fit.  But that will mostly be covered with the shower door and walls, and what isn’t can be touched up when we’re done. Shower Base Unit I couldn’t find the instructions, and I’m pretty certain they don’t say to do this, but I put some screws into the studs on the back wall to stiffen up the base.  It tended to squeak aga

Bathroom Shower Install Preparations

Image
  Bathroom Shower Install Preparations by rdpecken on Sep.28, 2010, under Drywall 09/18/2010 After the cement board was laid down, the next step was to fit the shower into place.  As things usually go, we had to make some modifications. We had built the bathroom to be able to put in a full 5′ tub/shower.  At some point, we decided that we would rather have just a shower, and that we liked the one we had in the shed.  So we bought a very similar one and brought it up.  This unit is only 4′ wide, so we had to build an end wall for the unit for our home.  This left a very narrow “closet” space next the the shower, but we will deal with that later.  Maybe a pullout unit on slides. Anyway, here is the wall after the drywall was hung, but before finishing it:   Shower Wall A little mud and tape goes a long ways…   Shower Wall mudded Here is a shot of the very small “closet”.  It does show the texture on the wall pretty well, though…   Little “Closet” We picked a neut

Bathroom Floor and Walls

Image
  Bathroom Floor and Walls by rdpecken on Sep.28, 2010, under Flooring We went up over Labor Day, 2010 to do some work on the Bathroom.  At this point, we had installed, mudded and textured the main walls of the Bathroom.  The next step was to stiffen up the floor in preparation for the shower and tile install. When we first built the floor, I didn’t realize early enough that a 4×8 sheet of subfloor wasn’t really 4×8 after you pushed the seams together.  So the floor was a little to short width-wise.  At the time, I decided to bring the edge of the last sheet out to lay on the rim joist, which left a gap in the seam with the previous sheet of subflooring.  We screwed the floor down to minimize moving, but there was still some flex at the joint: Bathroom floor with gap So to stiffen the floor up a bit, we installed some cement board on top of the subfloor.  This is basically 5′ x 3′ boards that are made of a cement composite mixture.  They are supposed to stiff

Maintenance for the Washhouse

Image
  Maintenance for the Washhouse by rdpecken on Sep.28, 2010, under WashHouse The Wash House has been up for about 6 years now, and has never been painted.  We have just been relying on the primered siding to keep out the weather. The siding has done really well, but the door takes a real beating on the western side.  It has started peeling, so we decided to go ahead and put a coat of primer and paint on it. Here it is after removing it from the hinges and laying it down on the deck to work on it: Bathroom Door with peeling paint After sanding, scraping and wirebrushing, we were able to remove all of the loose paint.  Next, we put it back up on its hinges to paint it.   Sanded Door We used the leftover ZAP primer (I still don’t like it) on the door, and then used some of the brown paint left over from the LittleHouse paint job. Unfortunately, I forgot to snap a picture before we left, so you’ll have to wait to see the results.  It looks much better than the phot