Bathroom Shower Install Preparations
Bathroom Shower Install Preparations
by rdpecken on Sep.28, 2010, under Drywall
09/18/2010
After the cement board was laid down, the next step was to fit the
shower into place. As things usually go, we had to make some
modifications.
We had built the bathroom to be able to put in a full 5′ tub/shower.
At some point, we decided that we would rather have just a shower, and
that we liked the one we had in the shed. So we bought a very similar
one and brought it up. This unit is only 4′ wide, so we had to build
an end wall for the unit for our home. This left a very narrow “closet” space next the
the shower, but we will deal with that later. Maybe a pullout unit on
slides.
Anyway, here is the wall after the drywall was hung, but before finishing it:
A little mud and tape goes a long ways…
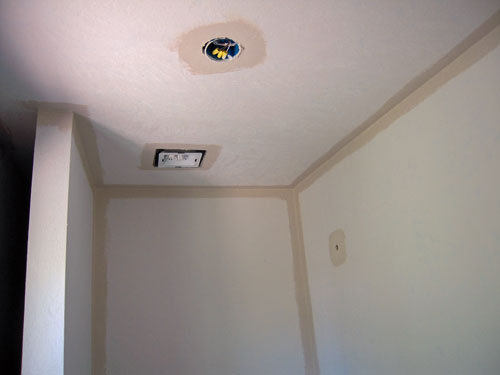
Here is a shot of the very small “closet”. It does show the texture on the wall pretty well, though…
We picked a neutral color called “Desert Fortress” from Lowes (Valspar paint). Here you can see with some contrast as to how much darker it is than the almost pure white of the mud. It doesn’t look that dark now that it’s all finished, though.


September 29th, 2010 on 5:04 pm
I’m impressed Randy! How did you fasten the sheet rock in the little “closet”? Can’t swing a hammer in there, eh? Liquid Nails?
September 30th, 2010 on 6:52 am
Hi Steve.
Right, there’s no room to swing a hammer in there!
I built the wall and sheetrocked it outside on the little work platform/porch in front of the house. Then Tara & I carried it in and used screws to hold it to the studs in the other walls, and to the floor.
Finally, we sheetrocked the easy side, and put the corner edges on the front.
Nothing’s as easy as it should be!
Later… Randy