Posts

LittleHouse Roofing Con’t

Image
  LittleHouse Roofing Con’t by admin on Aug.20, 2007, under Roofing Bad Gables 19 Aug, 2007. Because we were working in the dark, our gable ends did not turn out all that well. We ended up having to splice this one on top, because it was not pulled high enough when we put it on. I’ll probably order some more gable trim and redo these in the future, as it looks kind of shoddy up close. You don’t notice it so much without the zoom lens, but I will always know it is there…   East Gable Bad Gables 19 Aug 2007. Our inexperience bit us on this one, too. We just couldn’t get the gable trim pieces to fit under the ridge cap, and overlap each other as the illustration in the instructions showed. Again, I’ll need to fix this at some point, or it will drive me crazy.   West Gable North Roof 19 Aug 2007. All in all, I have to say that this looks like a great roof! It went on much easier than asphalt shingles, and should be cooler in the summer. The panels ...

August 2007 at the Ranch

Image
  August 2007 at the Ranch by admin on Aug.20, 2007, under Seasons Shop Site August 18th, 2007. Afternoon. 2007 has been a pretty good monsoon year up here. This is probably where we will put a shop at some point. It’s about 150 feet west of the big house site.   Shop Site Purple Flowers August 18th, 2007. Afternoon These were nice to come across. Every year, we see something new. This year was the first time for these flowers, and the first time we saw dragonflys up here.   Four-O-Clocks Looking East August 18th, 2007. Afternoon. The meadow has greened up nicely.   Looking East Looking West August 18th, 2007. Afternoon. We even have some grass, rather than just weeds!   Looking West

LittleHouse Roofing Installation

Image
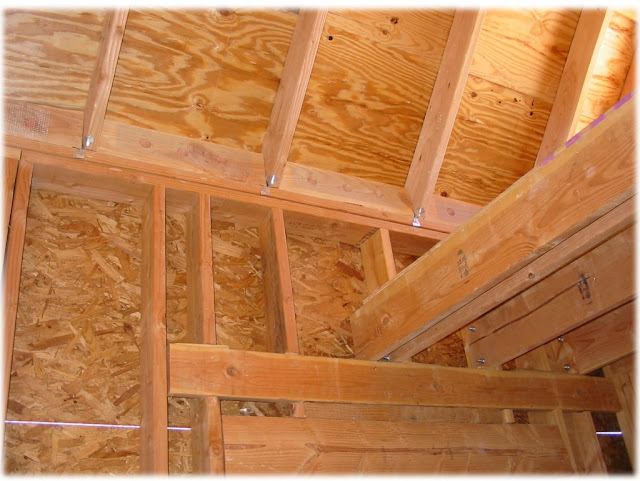
  LittleHouse Roofing Installation by admin on Aug.19, 2007, under Roofing Collar Ties 17 Aug, 2007. After cutting the underlayment away from the ridge vent, to allow air flow once the ridge cap is installed, it started raining, and continued most of the day while we were working on the roofing project. We decided to come in and install the collar ties. There are two sets of them, as you can see. They are made of 2 2×6’s cradling the existing rafters. There are only two sets, as the lofts serve the same purposes on the ends (namely, to tie the two load-bearing walls together to keep the roofing from spreading. We plan on filling the gap with a 2×2, and using the remaining slot in the top to run electric to our lights and fan that will be hanging from these.   Collar Ties 17 Aug 2007. As you can see, the collar ties are attached to the rafters with two bolts on each side. We had planned on putting these down at the top of the wall, which would span 14′...

LittleHouse Roof Underlayment

Image
  LittleHouse Roof Underlayment by admin on Jul.01, 2007, under Roofing Bird Boards 30 Jun, 2007. We had a weekend off before we took off for Nebraska to visit friends and relatives there. Where the walls meet the roof, we built and installed bird-boards. These have a couple of 2-inch holes in them, covered with screen. They are to provide ventilation between the roof and the insulation, which will flow in through the bird-boards and out through the ridge vent in the roof. That should help keep the roof from transferring heat to the interior space.   BirdBoards Underlayment 30 Jun 2007. We knew we couldn’t get the metal roofing installed before the monsoon season hit, so we installed the underlayment that came with the roof system as a rain barrier. It is spec’d to last one year while exposed to the sun, and should be OK until we can get back in August to put the metal roofing on.   Installing Underlayment Underlayment 30 Jun 2007. The underl...

LittleHouse – Roof Sheathing

Image
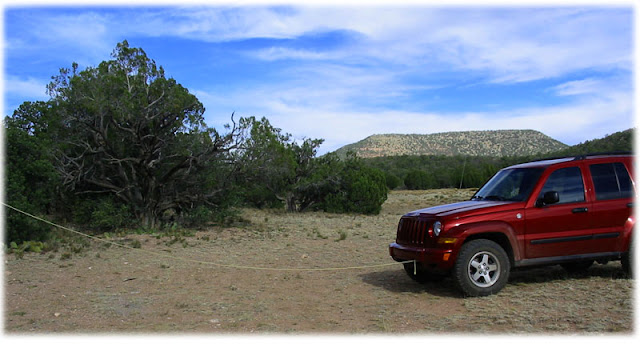
  LittleHouse – Roof Sheathing by admin on Jun.17, 2007, under Roofing Safety Line 16 Jun, 2007. We hooked up a safety line and tied it off to the Jeep. Then we threw it over the roof, so Randy could tie off while working up there.   Safety Line Next Row 16 Jun 2007. We spent the morning hauling the sheathing up and nailing it wherever we could from inside the house. Then we finally had to climb up on the outside and nail it down properly.    Roof Jacks Way Up There 16 Jun 2007. Well, it wasn’t that bad working up there. I’ve kinda gotten used to heights in my lifetime. Still it is good to have a safety line to tie off to. The roof jacks came in really handy, but they were a pain to move around. I think I’ll buy some more before I put the roofing felt on.  Nailing the Roof Sheathing    Finished Sheathing 16 Jun, 2007. View of the front roof. We’ve already ordered the metal roofing from absolutesteel in Guadalupe Arizona. ...

LittleHouse – Framing the Roof

Image
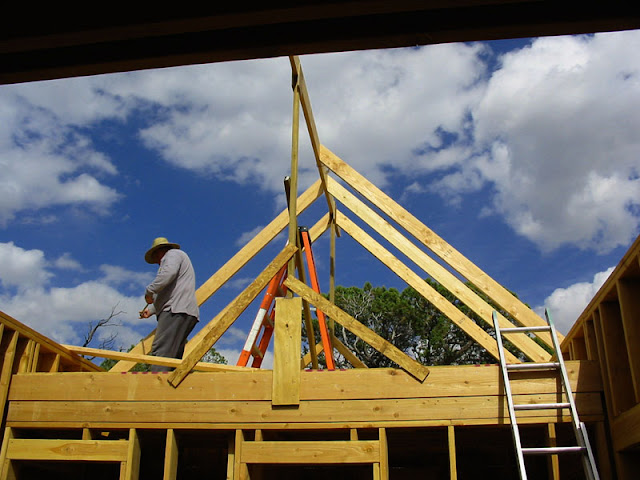
  LittleHouse – Framing the Roof by admin on May.24, 2007, under Framing Roof 22 May, 2007. Well, here we are for another week at the ranch. This trip we intend to build the roof. We have built two temporary supports for the ridge beam, and started to cut and install the rafters on the East end.   Ridge Beam Placing Rafters 22 May 2007. The roof was the most difficult part to build, so far. I expected the rafters to be difficult, but they actually wern’t too bad. The hardest part was keeping the ridge beam straight. By altering which side we put the 1st ridge beam of a pair up, we were able to keep it pretty straight. We still had some problems with crooked lumber, though.   Ridge Beam Jigs Rafters to Ridge 22 May 2007. We made the ridge board stick out to provide support for the overhang on the east and west gable ends. So that we could start a sheet of plywood on one end, we installed an extra rafter pair 24″ from where the edge of the overh...

LittleHouse – Building the Loft

Image
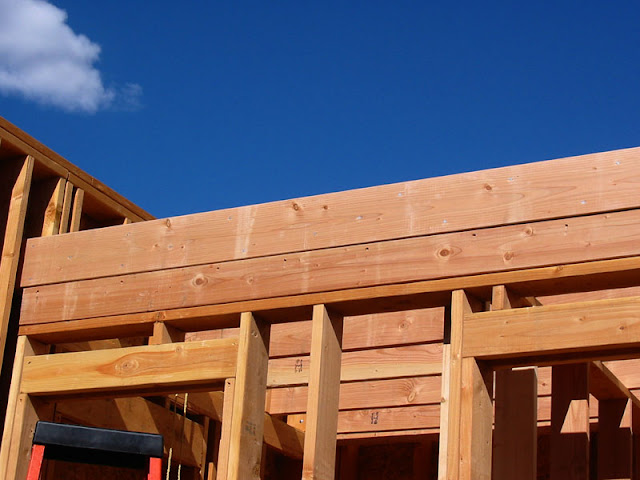
  LittleHouse – Building the Loft by admin on May.12, 2007, under Framing Loft 08 May 2007. We arrived for another week of work on May 7th. After placing the loft floor joists on their ledger boards and bolting them to the walls, we discovered that we had built the interior wall to short. (That happens when you are tired…). So we built a big header beam out of 3 2×6’s sandwiched with 2 layers of half-inch plywood. Placing this on top of the wall (which was luckily built to be load-bearing anyway) brought the height up to where it should be. Then, the floor joists on the end are doubled up anyway, to provide a beefier support for the railings of the loft.   Loft Beam Loft Floor Joists 08 May 2007. The loft floor joists rest on the ledger boards that we built into the walls. We then bolted them to the wall joists to tie the north and south walls together, in place of collar ties on the roof above the lofts. We used shims liberally to snug up the litt...