Posts

LittleHouse – Framing from the inside

Image
  LittleHouse – Framing from the inside by admin on Mar.17, 2007, under Framing Kitchen 11 March, 2007. This is where the kitchen will go, with the sink just below the window. It will be an L-shaped kitchen, to allow openness between the cooking area and the living area.   Kitchen Living Room 11 March 2007. The shared Kitchen (on the right) and the Living room (on the left) are against the west wall. That’s a great view, but we like the trees better, so we only have a small window in this wall.   Living Room 11 March 2007. The other wall of the living room has this 48″ window for good ventilation, and nice views to the south. Directly on the other side of this will will be the 8′ wide porch running the entire 24′ length of the little house.   Living Room Window East Wall 11 March, 2007. View from outside, looking at the east wall. The window is for the bedroom.   East Wall West Wall 11 March 2007. The west wall from the outside. The ...
LittleHouse – Framing the Walls

Image
  LittleHouse – Framing the Walls by admin on Mar.17, 2007, under Framing Wall Framing 09 March, 2007. Just as we had done with the shed, we pre-cut the majority of the lumber for the walls in Mesa. This allows us the use of power tools and makes the construction at the remote site much faster. You just have to make good cut lists and double-check everything. Even with the extra care, we made a couple of mistakes, but nothing we couldn’t fix on-site.   Precut Wall First Wall 10 March 2007. The first wall went up pretty quick in the Northwest corner of the house. Most of the segments were built to 8 foot widths, as we wern’t sure if we would have much help available to lift them. As it turns out, our daughter Sarah, and her family came along and were a big help. The window is 36″x36″ above the Kitchen sink space.   First Wall We used a 2×4 to brace it while we continued working. Fifth Wall 11 March, 2007. The fifth wall is on the far right...

February Ranch Life

Image
  February Ranch Life by admin on Feb.20, 2007, under Seasons February, 2007. Here is the Big House Site in Mid February. Things are still kind of dead at this time of year…   Big House Site in February February, 2007. Looking South across the meadow.   South Meadow in February February, 2007. Looking West down the lane.   Looking Down the lane in February

LittleHouse – Laying the Subfloor

Image
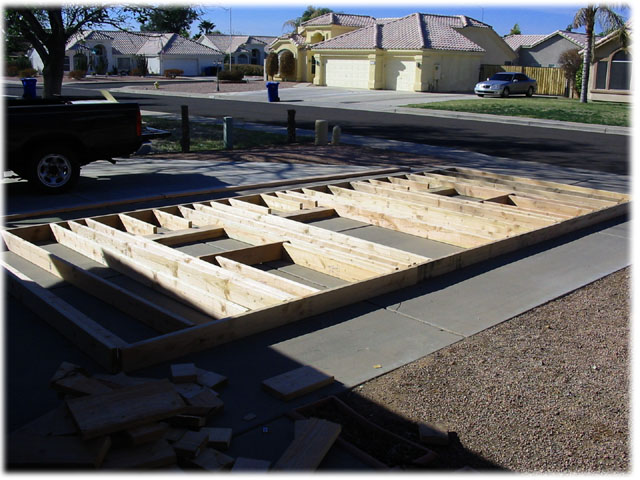
  LittleHouse – Laying the Subfloor by admin on Feb.20, 2007, under Framing Subfloor 18 February, 2007. We laid the plywood down, starting with the front edge, and going across in 4 rows. The joists were really square, so the edges lined up nicely.   Subfloor 18 Feb 2007. The subfloor is 3/4″ tongue & groove 4×8 sheets. Each was glued to the joists with Liquid Nail Subfloor glue, then nailed down with 8d nails.   Subfloor Long side 18 Feb 2007. Tara checked the level across the floor and was amazed to find that it was indeed level. The ground slopes quite a bit, so it gives the illusion of running downhill.   Subfloor Overview A Little Short 18 February, 2007. We were dismayed to discover that with our last half sheet row of plywood, we were a little short on the back side. We didn’t figure that 4×8 sheets were actually a little less than 4′ wide, when you slid the tongue into the groove. You lose about a half inch on each joint. We c...

LittleHouse – Building the Floor

Image
  LittleHouse – Building the Floor by admin on Feb.20, 2007, under Framing Floor Joists 18 February, 2007. With a crazy work schedule, it’s been difficult to find time to get up to the Ranch. We bought some lumber in town, and precut it to length for the floor joists. First, we went to each pier and checked/corrected any level problems, and placed the rest of the bolts in place. The we started on the joists.   Floor Joists 18 February, 2007. I had made the beams an extra six inches long, just in case they weren’t totally square with each other. We measured 3 inches in on the West side, and placed the first joist there. Then we measured over 24 feet on each beam and placed the last joist there. A quick check of the diagonals and some math determined that we were square. We then measured over 16″ from the outside edge of the first joist and every 16″ thereafter. A mark at each spot showed us where the center of each joist went. The Rim joists on the lon...

LittleHouse – Building the Girders

Image
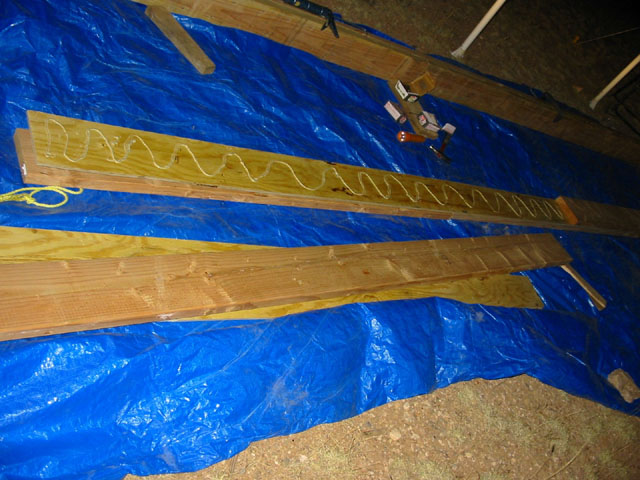
  LittleHouse – Building the Girders by admin on Nov.12, 2006, under Framing Building Girders 12 November 2006. Wow, it’s been a long time! Work schedule prevented us from getting up during the last summer. In addition, when we finally came up in October, we were focused on winterizing our water tank and plumbing. Anyway, here we are building up the main beams that will sit on top of the piers to support the little house. The beams consist of two 2×8’s on the outside, with an 8″ wide piece of half-inch plywood sandwiched between. All the pieces are glued together with construction adhesive and nailed with a bunch of 3-1/2″ nails.   Building the Girders On our last trip, we carefully measured the distance between each of the piers. Then, while in Mesa, we pre-cut the boards such that the joints would be separated by at least 4 feet for the 2x8s and the 1/2″ plywood joints were at least 2 feet from any of the other joints. In addition, we made almost ...

September 2006 at the Ranch

Image
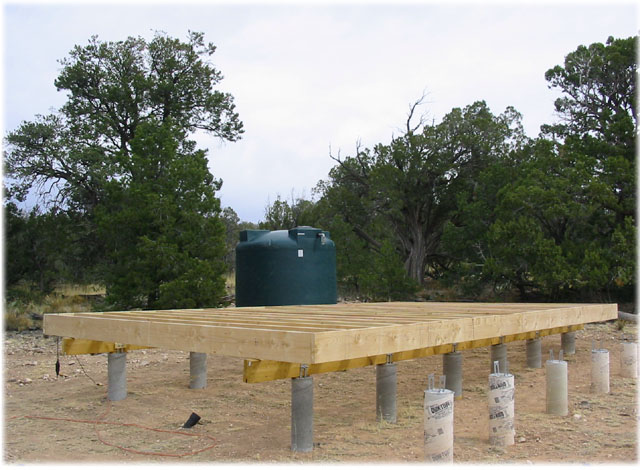
  September 2006 at the Ranch by admin on Sep.25, 2006, under Seasons “Our” Cows September 24th, 2006. Morning. Some of the cows came to visit today, and I happened to have the camera ready, so here they are… They need to work harder at keeping the meadow mowed, though.   Cows in the Meadow Close up Cows September 24th 2006. Morning. Here is a little closer shot.   Close-up of Cows in Meadow Little House Site September 24th, 2006. Morning. Here is a recent shot of our little house site. You can see our relatively new water tank installed. Next step is framing the little house, finally!   LittleHouse Site