Posts

Remote Monitoring of Solar Charger
Image
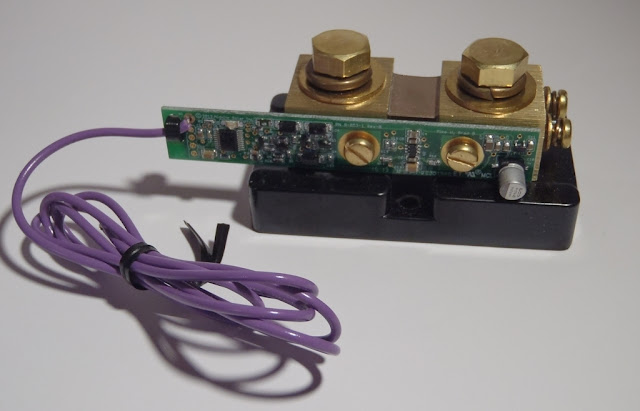
  Remote Monitoring of Solar Charger by rdpecken on Sep.25, 2014, under Electrical Over the labor day weekend, I installed a new add-on for my solar power charge controller. It is called a Whizbang Jr. Basically, this allows the charge controller to measure the actual current directly into and out of the battery bank , without worrying about what loads I might have turned on at any point in time. This allows the charge controller to make better decisions on when to stop charging on any given day, putting less strain on the batteries. It also will allow me to more effectively monitor the actual state of charge of the batteries, rather than guessing based on battery voltage. But that part hasn’t been added to the software, yet. I haven’t grabbed any photos of my install yet, but here is a generic one that I’ve borrowed from the manufacturer… Whizbang Jr. I also did some work to allow me to remotely monitor the charge controller operation. This way, I can bring up ...

Labor Day 2014 at the Ranch

Image
  Labor Day 2014 at the Ranch by rdpecken on Sep.24, 2014, under Seasons Our trip up for Labor Day this year was mostly to do some more cleanup behind the LittleHouse. We ran into a few critters under the debris. One of them was a nice tarantula. He was friendly, and posed no harm. Taurantula Crawling on Ground       Crawling on hands      Back on the ground And for the movie…    

Battery Maintenance

Image
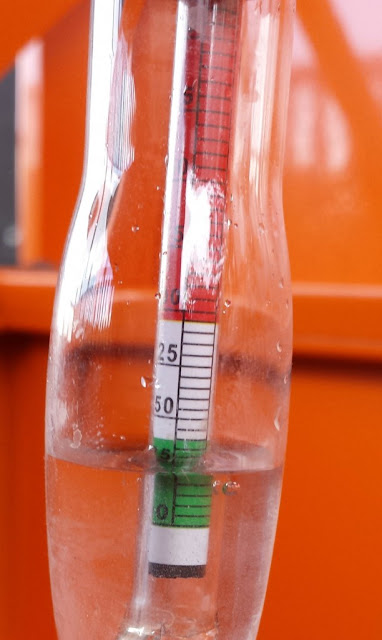
  Battery Maintenance by rdpecken on Aug.12, 2014, under Ranch Maintenance While waiting for the scrap lumber to burn down, I did battery maintenance. First, I let the solar panels charge until the charger went into float mode (about 1:00 pm that day). Then I checked that the water level was above the plates of the battery (it was in all cells). I had not filled the batteries since May, so I was concerned, but all was well. I checked the initial voltage on each battery. They were all in the 6.53 – 6.55 range (I wrote them down, but didn’t capture the figures in the snapshot I took to bring back to town). Next, I put the charger into equalize mode. I ran in that mode for about an hour, but for the last 15 minutes or so, it had clouded up, so wasn’t fully effective. I’ll have to run another equalize charge next time we come up. Finally, I let the system go back into float mode, and measured the voltages and specific gravity for each cell. All were in the goo...

Cleaning Up…

Image
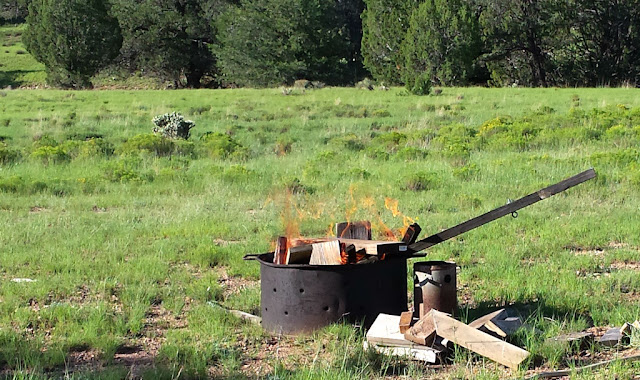
  Cleaning Up… by rdpecken on Aug.12, 2014, under Ranch Maintenance I’m ashamed to admit that I got a little lazy with properly disposing excess lumber during the building process. Since the burn bans are over for the year, and everything is nice and green, I decided to burn up the scrap lumber pile that had been stacking up for years.   Burn Ring Here is what I started with. Pretty disgusting… What a mess… One of the reasons that you don’t want to let debris pile up is that it makes a cozy home for unwanted critters. This guy is about 6 inches long (in the body) with a six inch tail attached.   Critter   Rats!   I burned all day Saturday and got about 2/3 the way through the pile. Here is the remains of what I got done. About 2 feet across and 8 inches deep…   Ashes

August 2014 at the Ranch

Image
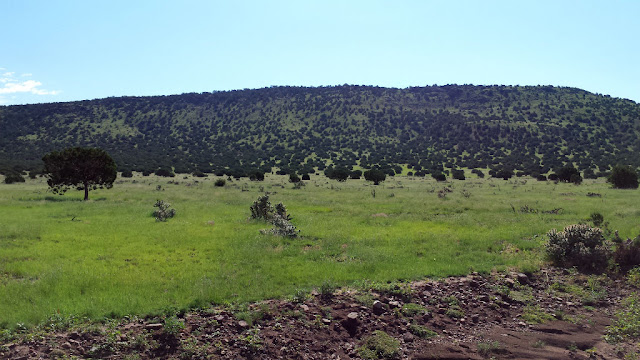
  August 2014 at the Ranch by rdpecken on Aug.12, 2014, under Seasons With the Monsoons in full swing, I decided to head up to the Ranch to get a break from the heat. I came up alone, for just the weekend. I did a little cleanup work and battery work, but mostly I sat outside and played with my new iPad while waiting to throw another piece of wood on the burn pile. Here are some pictures of the scenery, nice and green… Anvil Rock, from the west side…    Black Mountain   Grass is lush and green   The prairie   Fort Rock Road, on the way in  

Shed Painting

Image
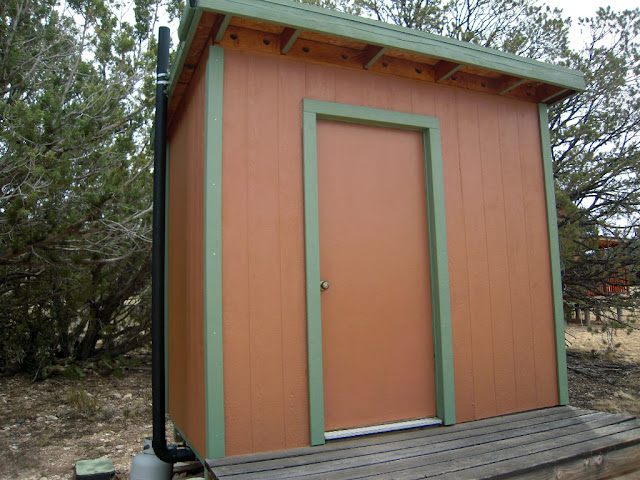
  Shed Painting by rdpecken on May.19, 2014, under Ranch Maintenance While it has been a while since we have painted the LittleHouse, we painted the Shed for the first time, on this trip. In the image above you will see the front of shed painted. The shed looked pretty deteriorated when we started. There was some trim that we put on one corner years ago, because we had some leftover pieces from doing the LittleHouse. The shed was built in 2004, so it has been sitting there for about 10 years with only the primer that came on the T-11 siding, and some other primer we put on some trim years ago. Shed West side at start     South Side at Start   Shed East Side at Start    When we were finished, it looked much better. We added trim on the other three corners and painted everything. The Door will still need some work down the road. We’ll probably replace it with a steel door at some point, as the west exposure just kills it.   Shed ...

Spring Maintenance

Image
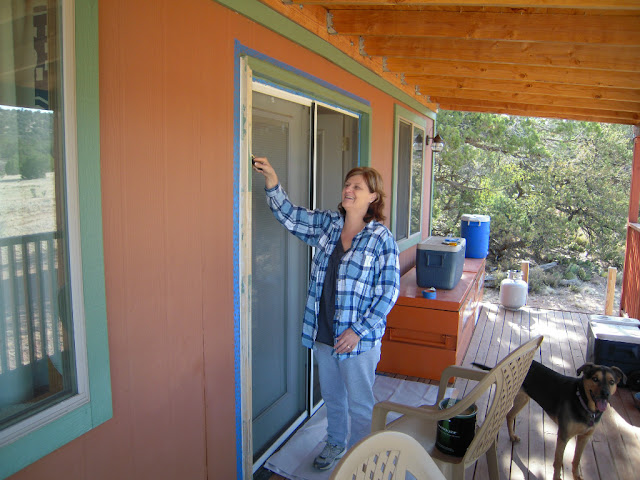
  Spring Maintenance by rdpecken on May.19, 2014, under Ranch Maintenance Tara and I decided to run up to the Ranch last weekend to do a little spring maintenance. It hardly seems fair that we have to repaint/do touchups when we are still working at building the place! Anyway, the paint on the front door trim never did stick too well, and had been peeling pretty good. I blame it on poor quality primer that came with the trim, because that is the part that was peeling. We have had no other peeling on the rest of the house trim, only that door. We started by scraping off all of the loose paint chips from the trim. Tara scraping off the old paint on the front door. It was a pretty messy job. Paint scrapings Once that part was done, we taped it off and put on a new coat or two of Home Depot Winter Sage (same as the rest of the trim), using Behr Marquee paint. It looked much better when we were done. Door Trim repainted