Water Tank Installation
Water Tank Installation
by admin on May.24, 2006, under Water System
Water System
For a few years, our plan is to have water delivered as needed. We can
get 2500 gallons delivered for about $70. Later we will add a well, so
that we can support growing fruit trees and a garden.
Water Tank Preps
22 May 2006.
We start by selecting a fairly level site for the water tank
near the little house. It is a couple of feet uphill from the house,
which provides for gravity feed to a pressure pump inside the house.

Here, we have excavated a 10-foot diameter circle to level it out, so the tank will not be lop-sided. We did this by hand tools – a pick, shovels, and rake. There are still a few small rocks inside the site which must be dealt with. We don’t want them to puncture the plastic tank.
Smooth & Level
When our good neighbor, Murphy came down to see how we were doing, he
asked if we had any fill for the hole. He was concerned with rocks, too.
We were considering digging up some gravel out of our creekbed, but he
had a much better idea.
He returned the next morning with his front end loader on his Case tractor filled with a fine clay silt. Apparently, the two Wayne’s up the hill have access to a pond that tends to silt in when it rains. He was able to get enough rock-free silt out of it to suit our needs. It’s great having kind neighbors, and we thank them!
So here is the tank site filled and level with the fine silt that Wayne brought us.

Water Tank
So the next day, we took our jeep into Kingman to pick up our tank. Having called around the week before, we discovered that tanks were about $200 cheaper in Kingman than they are in Seligman or Chino Valley.
First, we looked for a U-Haul place to rent a trailer big enough to haul this thing. Our third try ended up at McGrundy’s (or something like that). He had the 6×12 open trailer for rent for $28 for the day.
We called Leroy’s Ace Hardware to reserve their last 2500 gallon tank, and picked it up. They set it on the trailer by lifting it up with a forklift and tilting it toward the back of the trailer. Then we just slid it off on its side onto the trailer.
After tying it down and taking off, we discovered that as we approached 55 mph on the Interstate , the tank tended to slide to the rear of the trailer. So we pulled off and retied everything down, including a rope around the bottom (back) side to keep it in place. We had no further problems with hauling it.
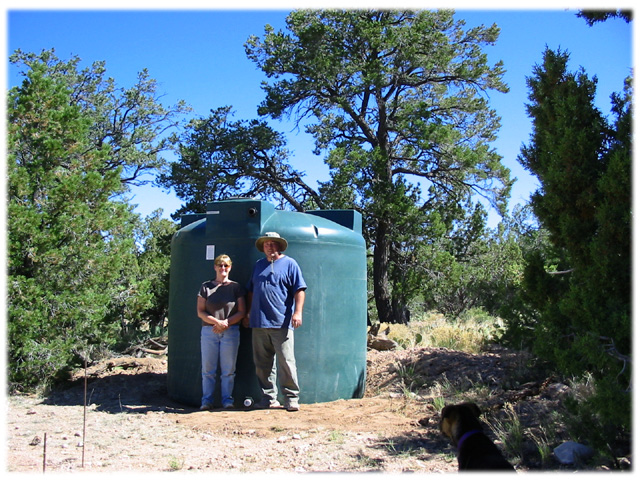
When we arrived at the ranch, we just slid it off the trailer by hand, and pushed it into its place. It wasn’t too hard, considering the thing weighs about 450 lbs. So here it sits…

Water Inlet
23 May 2006.
The delivery service – “Al – The Water Guy” has a 2-inch galvanized hose connector for filling.
The tank is filled from the 1-1/2″ inlet near the top. We made a fitting from a 1-1/2″ nipple, 1-1/2″ 90 degree elbow, another 1-1/2″ nipple and a 1-1/2″ to 2″ coupler, which has 2″ male threads for the water man to hook up to.
We used our favorite pipe sealant to prevent leaks.

Outlet Connection
23 May 2006.
The outlet at the bottom of the tank is a 2″ connection. Here we
connected a 2″ galvanized nipple, 2″ ball valve, 2″ tee with a 3/4″ hose
bib for the wash house temporary connection, and a 2″ threaded female
connector to go to the little house.
Later, we will trench in some line to the little house, and perhaps down to the big house area, depending on how hard the trenching is this time.


Comments
Post a Comment