Washhouse Toilet Install
Washhouse Toilet Install
by admin on Mar.23, 2006, under WashHouse
Toilet Install
March, 2006.
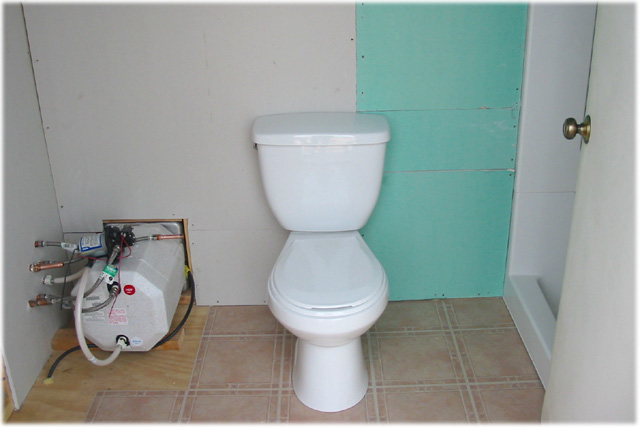
We installed some cheap linoleum tile on the floor so we could get a good seal with the toilet’s wax ring. It was still getting pretty cold at night when we installed this, so we have some concern that the tiles might not stick well to the floor. If not, we will use some adhesive later when it warms up this spring.
Once we had the tile down, we measured 12″ from the wall for the toilet drain center. Then we checked left and right to make sure no floor joists would be in the way of the drain pipes. Once we settled on a location, we cut a 4″ hole in the floor for the water closet connection. This fitting is screwed to the floor, and the toilet is fitted with a wax ring around it’s outlet. The fitting has two adjustable bolts for the bowl. The bowl was then pressed down to squish the wax ring and make a good seal. The bolts were carefully tightened so the bowl would not move.
Then the tank was connected to the top with a rubber seal and some bolts with rubber seals. We had the wrong connector for the water valve in the toilet, so we will have to wait until next trip to test it.
Toilet Drain
March, 2006.
A 90 degree elbow was attached to the w/c fitting from the floor. This went to a 3″ pipe and a wye connector to the main drain. Everything was dry fitted before taking it apart and applying solvent and glue.
There was a problem with getting a good angle out of the Water Closet fitting. I wonder if there is a special 90 degree (almost) fitting that allows for the slight downhill angle you need.
For now, I just forced it at the needed angle, but the pipe doesn’t fit in as far as it normally would by doing that. I’ll check on this later.
Water Supply
March, 2006.
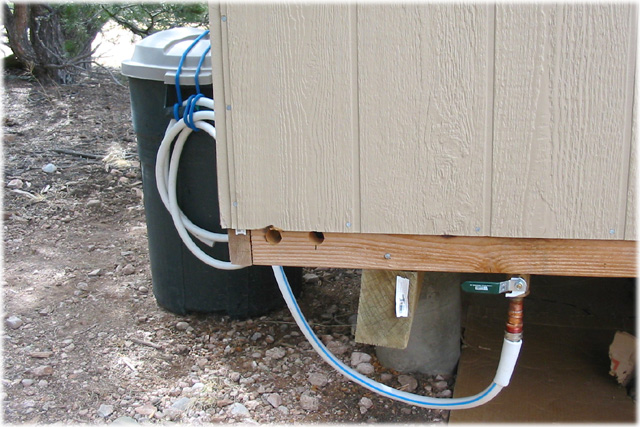
Our temporary water supply comes from two 28 gallon plastic waste bins (new). We fill these up in town, and bring them back to the Ranch. A hose connects to the water inlet side of the pump via a shut-off valve. This is where the main tank will connect later.
The two holes on the left were access to push the plumbing pipes all the way through, under the floor. I probably won’t do this again, due to access problems mentioned earlier.
That’s it for this trip. Next trip it should be warm enough to keep water in the system for the summer, and the shower and toilet should be fully functional.


Comments
Post a Comment